Here's a book for anyone interested in learning more about stair building. Even though there are less than 20 chapters in this book, it's filled with information that can help you build better stairs, in less time and with more confidence.
Ask yourself this, do you know how to build every type of stairway?
Do you even know which questions to ask the project manager, architect or contractor?
If you answered yes and you have built a variety of different stairways and barely had a problem with any of them, then I wouldn't get this book, but if just one of you answered no to at least one of those questions, then go for it.
Learn from someone who has built over 1000 stairways.
Learn from someone who's made mistakes so you won't have to.
It's this simple, if you need to read to succeed and master carpenters you admire and even respect aren't willing to part with their secrets and in some cases are going to take them to their grave, then read this book.
Some of these secrets have been passed down from my grandfather to my father and then to me and I'm willing to share them with you, for an extremely small fee that could even be considered a token of your appreciation.
Get the book, read it, share it with your fellow carpenters.
How To Create Under Cut Instead of Overhang - page 4 Sloping Treads For Water Drainage - page 18 Drywall And Skirt Board Spacers - page 29 How To Reduce or Eliminate Squeaking - page 38 How To Line Stringers Up Perfectly - page 48 How To Get Extra Risers - page 61 Compensating For Shrinking Stringers - page 63 Use Middle Riser For Alignment - page 66 How To Use String To Check For Imperfections - page 76 Making Stronger Guardrails - page 92 Wall Framing Studs Under Stringers page 96 Straight Edge vs. Saw Guide - page 99 Use Stringers To Locate Lower Landing - page 101 Lower And Upper Stringer Connections - page 108 Floor And Tread Variations - 120
Take A Tour of The Book
How To Create Under Cut Instead of Overhang
The stairway above has a square riser to tread connection and the illustration below has a 1 inch undercut, allowing the step to be a little longer.
This usually makes it easier for people with larger feet to walk up the stairway, but doesn't always make it easier for them to walk down the stairway.
I've use this method a lot on interior stairs that were going to get carpeted and exterior stairs covered with waterproofing materials.
Sloping Treads For Water Drainage
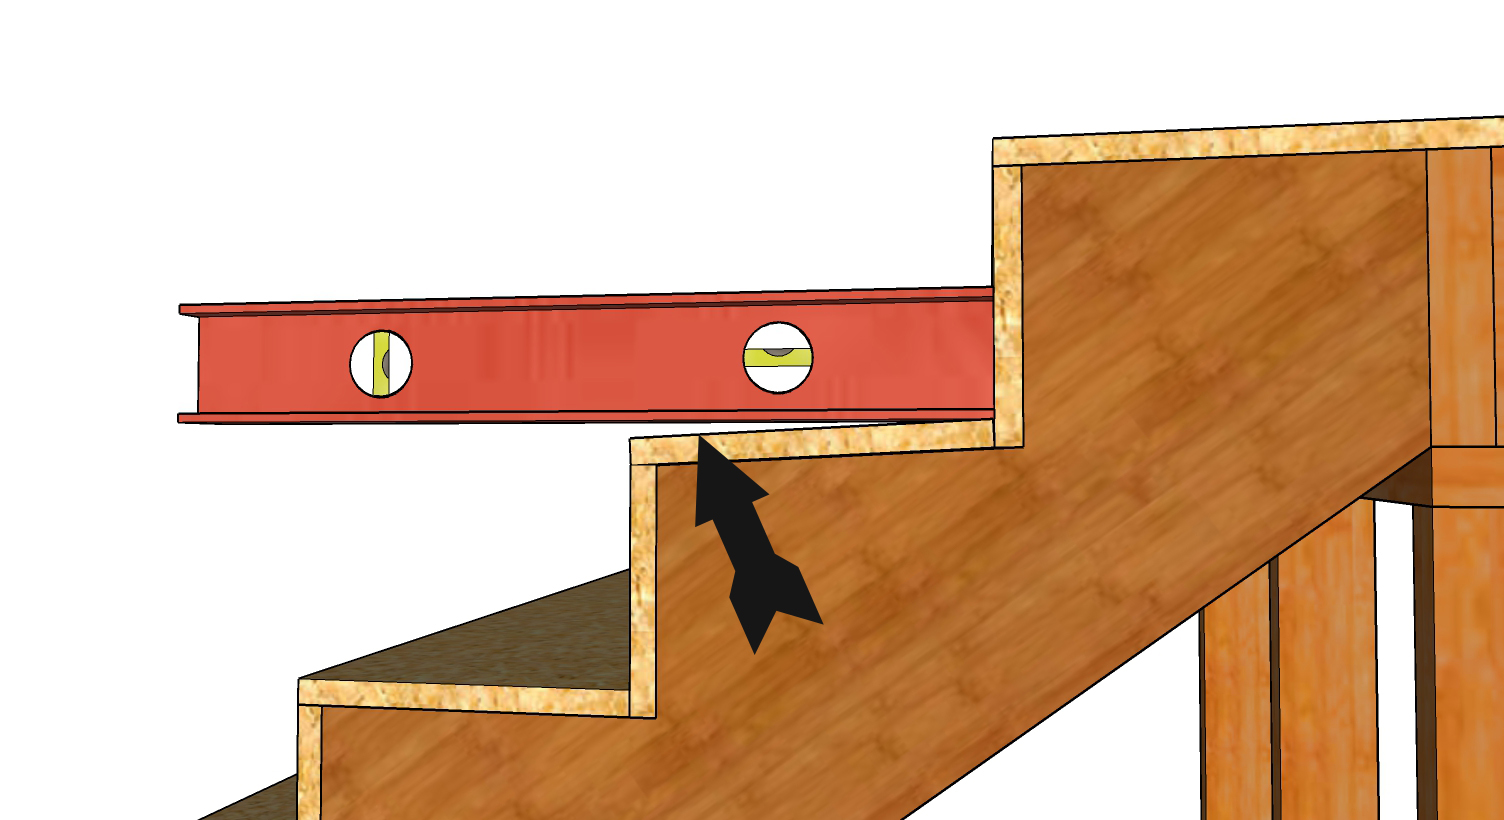
Here's another situation you could run into that will require you to slope the front of each step about 1/4 of an inch per foot. This type of stairway will also require some type of waterproofing and slip resistant surface.
Keep in mind that the upper and lower landings will need to be sloping in a manner that will prevent water from accumulating in or around the stairway path of travel.
It’s difficult to see in the illustration above, but there is a pool of water sitting at the bottom because of this problem.
Another suggestion would be to get the waterproofing contractor involved in the design process, just in case the slope needs to be steeper or might not be required at all.
Drywall And Skirt Board Spacers
Here's another time saving idea I still see professionals make every once in a while. By simply leaving a space between the stair stringer and the wall you will get a much cleaner finish with the drywall or skirt board, because you can slide these items easily into this space instead of going through the laborious task of marking and cutting each step out of the drywall or skirt board.
Another helpful tip would be to leave a little more room than necessary, in case there are any variations in the lumber. For example if you're going to be using half-inch drywall, then maybe a 5/8 or 3/4 inch spacer should be used. I've used a 2 x 4 for hundreds of stairways which would require half-inch drywall and three-quarter inch skirt boards, which should provide you with an extra 1/4 on and inch gap, but often doesn’t for a variety of different reasons.
How To Line Stringers Up Perfectly
Here's another trick of the trade that can drive even the best carpenters a little crazy. Even though all of the stars in the sky won't need to line up perfectly on a particular day or even at the perfect time for this to work, you will need to have all of your measurements right on the money.
In this section of the book I will show you how to cut and position stringer so that the top and bottom steps will be exactly and I mean exactly where the architect or building designer wanted them to be.
Keep in mind that all of your measurements will need to be verified before laying out stair stringers or figuring out exactly where it will need to be positioned. I've worked on a lot of projects where the architect or building designers measurements weren't even close to what they had on the plans.
How To Use String To Check For Imperfections
Now for those of you who consider yourself to be perfectionist, you're going to love this one. You can actually use a piece of string to verify whether or not a set of stairs is actually straight.
Lower And Upper Stringer Connections
In this chapter I'm going to provide you with a few different stair stringer connections to floors and landings. It’s meant to provide you with solutions to problems you could deal with in the future.
I’ve worked on a lot of projects where the engineer and designer didn’t know how to put everything together. I’m hoping some of these ideas will solve some of those problems by finding one here that will work.